
If you grew up in a Western kitchen, you were likely taught the “rocking motion”—keeping the tip of the knife anchored to the board and moving the handle up and down like a see-saw. It’s a classic move, but when you step into the world of Kyoku boning knife and Japanese cutlery, it’s time to learn a more efficient, precise rhythm.
Enter: The Push-Cut.
The push-cut is the definitive technique for Japanese blades. It’s cleaner, faster, and respects the delicate cell structure of your ingredients. If you’ve ever wondered why a chef’s prep looks so effortless, this is the secret.
Why Push-Cut? (The Science of the Slice)
Western knives have a curved “belly” designed for rocking. Japanese knives, like our Santoku or Nakiri, have a much flatter edge. When you “rock” a flat blade, you risk dulling the tip or “accordioning” your vegetables (where the slices are still attached by a tiny thread at the bottom).
The benefits of mastering the push-cut:
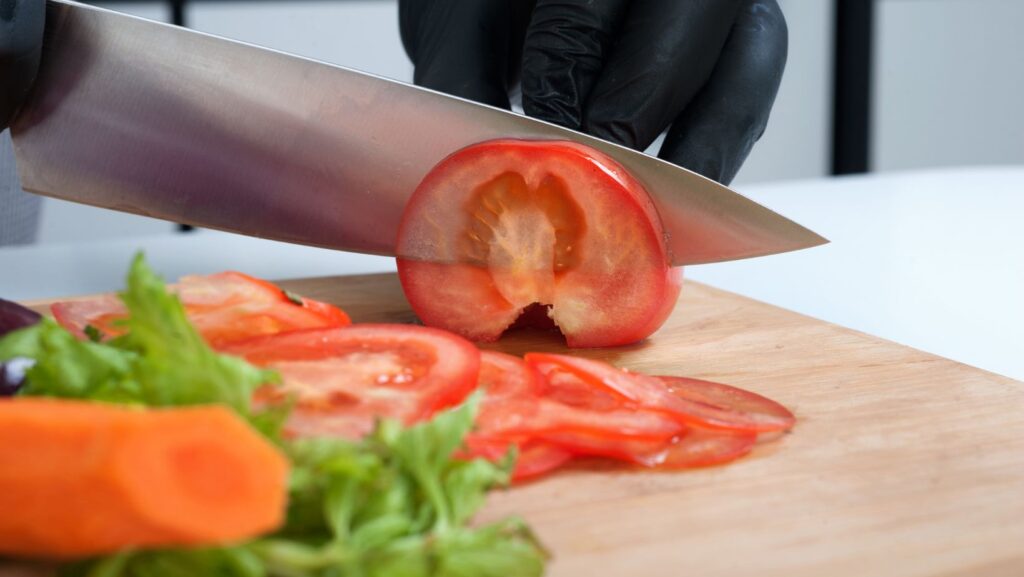
- No Bruising: By pushing the blade forward and down, you slice through fibers rather than crushing them. This keeps your herbs greener and your onions from making you cry.
- Uniformity: It is much easier to maintain consistent thickness for professional-looking julienne or brunoise cuts.
- Edge Protection: You aren’t grinding the tip into the board, which preserves your Kyoku’s 15° edge for much longer.
Step-by-Step: How to Push-Cut Like a Pro
- The Setup (The “Claw” is King)
Before the knife even touches the board, tuck the fingertips of your non-dominant hand inward, forming a “claw.” Use your knuckles as a guide for the flat side of the blade. This isn’t just for safety—it’s your “fence” for consistent thickness.
- The Grip (The Pinch)
Don’t white-knuckle the handle. Use a pinch grip: choke up on the knife so your thumb and forefinger are gripping the base of the blade (the bolster). This gives you maximum leverage and makes the knife feel like an extension of your arm.
- The Motion: Forward and Down
Unlike the rocking motion, the push-cut involves the entire blade leaving the board.
- Start: Position the heel of the knife near the top of the ingredient.
- The Move: In one fluid motion, push the knife forward and down. Imagine the blade is a plane landing on a runway.
- The Reset: Lift the knife back up and toward you to prepare for the next slice.
💡 Pro Tip: If you’re hearing a loud thwack against the board, you’re using too much downward force. A sharp Kyoku blade should glide. The sound should be a rhythmic, soft click-click-click.
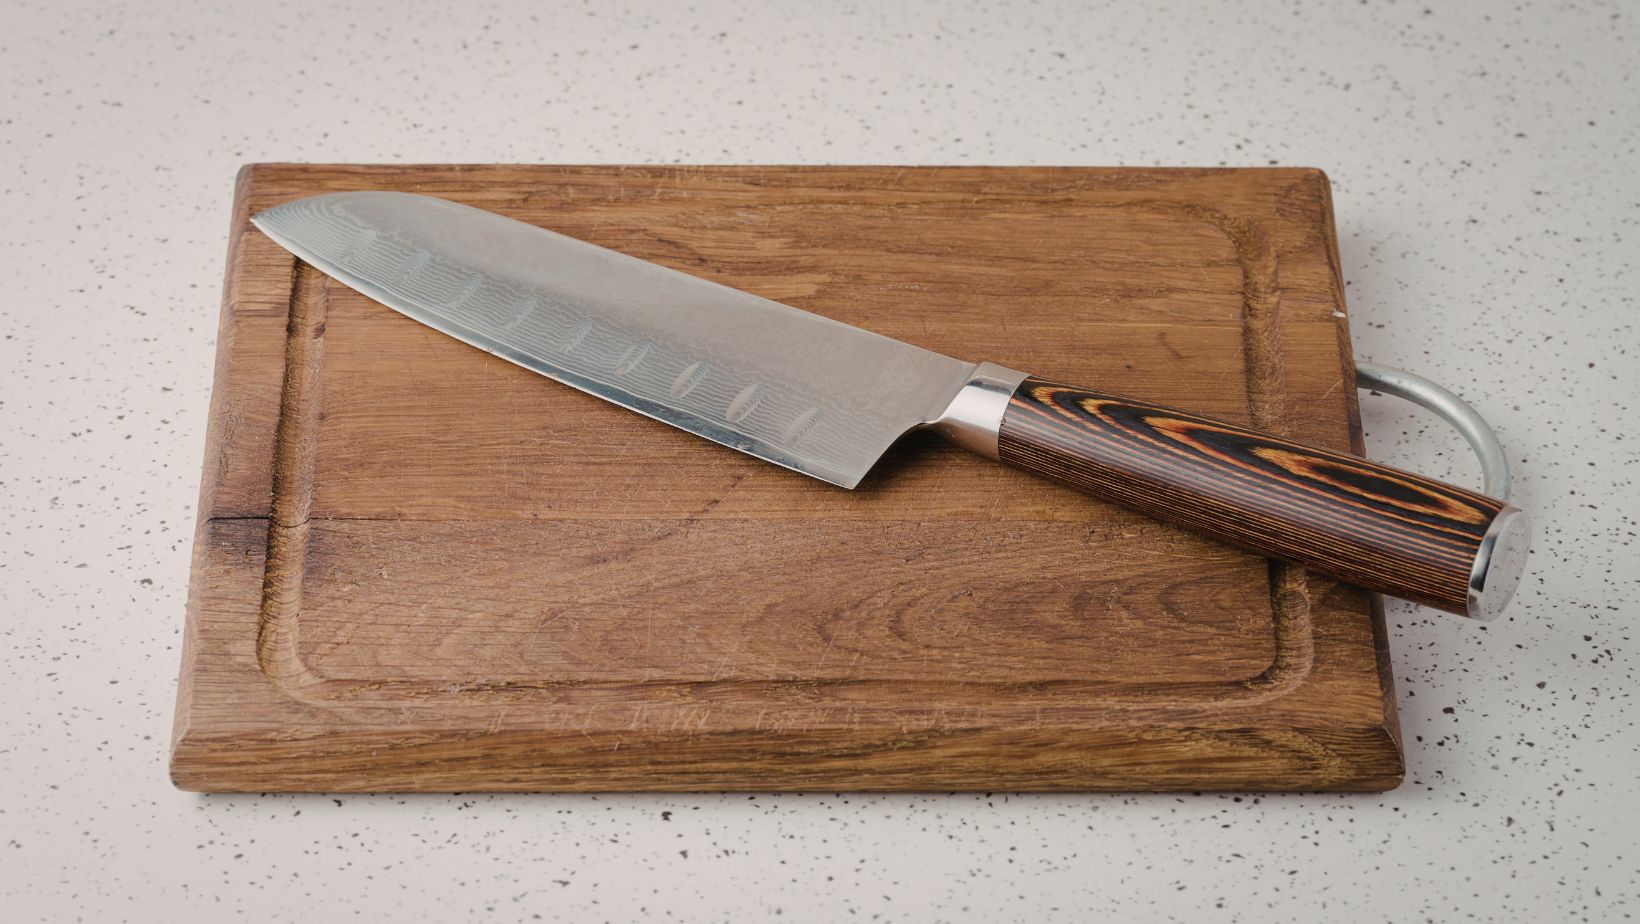
The Best Blades for the Job
While you can push-cut with any knife, certain Kyoku series are built specifically for this motion:
- The Nakiri: The flat, rectangular profile is the “final boss” of push-cutting. Perfect for mountains of vegetables.
- The Santoku: Its straighter edge and balanced weight make it the most intuitive choice for beginners learning the technique.
- The Petty: Ideal for push-cutting small aromatics like garlic, ginger, or chives.
Practice Drill: The Potato Challenge
Grab a large Russet potato and peel it. Slice it into a rectangular block. Try to make paper-thin slices using only the push-cut.
- If the slices stick to the blade, ensure you are moving forward enough.
- If the potato is sliding, check your “Claw” grip.
Mastering this technique takes a few weeks of conscious effort, but once the muscle memory kicks in, you’ll find yourself prepping dinner in half the time—and with twice the style.